Kodibuntu is a mix of the Kodi we know and love and Ubuntu, the Linux system. It is derived from a fork of Ubuntu called Lubuntu. That is a lightened version suitable for the modest hardware. It is ideal for home media center use. Which is why it is a part of Kodi to do just that. However, this tutorial is going to talk to you through how to install. And use Kodibuntu on USB or Live CD.
You can install Kodibuntu onto a computer and dual boot or use it as your main OS if you wish. But I find that is a pain. Given the modest hardware requirements of Kodibuntu. I think it easiest to install it onto a USB stick or even a Live CD and boot any computer from it.
You can also install it onto a computer and dual boot or use it as your main OS if you wish but I find that quite a pain. Given the modest hardware requirements of Kodibuntu, I think it easiest to install it onto a USB stick or even a Live CD and boot any computer from it.
Contents
Kodibunto on USB or Live CD:
A Live CD is actually a DVD and contains a fully working version of an operating system. Kodibuntu operating systems are superfast. You boot a computer from the DVD and the computer loads the OS into memory. You can also use all the features of the OS without even loading your normal operating system. Then, remove the media, reboot and your computer loads your normal OS again. For me, this is the ideal way to experiment with new systems without risking your computer.
If you are using a portable device or laptop. Then you can install Kodibuntu on an SD card also if you prefer. The same instructions work on whatever storage medium you choose.
For that, you need a blank DVD, a DVD writer or a USB drive of at least 2GB in size. Any generation USB will work but USB 3.0 will be much faster.
Install Kodibunto onto USB:
As I installed a copy onto a USB drive of my Windows computer. I will describe that process. Using a Live CD is just the same. First, we need to run Linux Live USB Creator and then we can install Kodibuntu.
Steps:
- Download and Install Linux Live USB Creator.
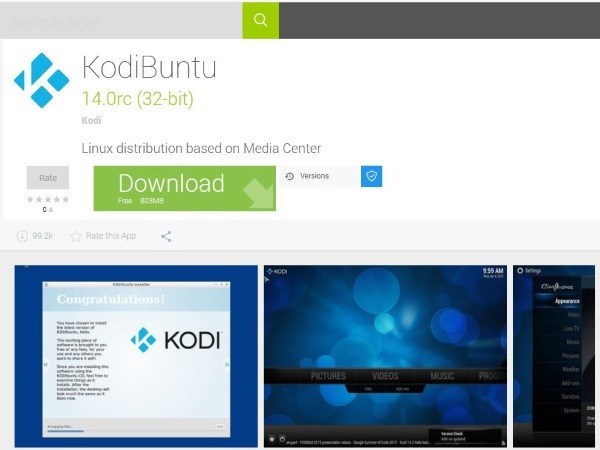
- Then download a copy of Kodibuntu from here.
- Insert your USB drive into your computer.
- Start Linux Live USB Creator and select your USB key.
- Select your Kodibuntu image as the source.
- Then select Persistence as 80% of the maximum space on your USB key. The remainder will provide storage for media and other information. You can also use 100% if you don’t want any information saved to the key.
- Select to Format the key in FAT32. As Kodibuntu is a 32-bit program, this is ideal.
- Then select the lightning icon to begin the process.
This process does not take a lot of time. It actually depends on the speed of your computer. And also the version of USB you are using. A USB 3.0 key will write much faster than USB 2.0 but neither takes long for Kodibuntu.
Once it is complete, our USB key is ready for use. But it actually depends on how you have your computer set up. You may need to configure it to boot from USB. If you have left your boot options at default. Then you should not need to do anything. If you have removed all boot options apart from your OS drive to speed up the boot. Then you will need to follow these steps.
Steps:
- First, reboot your PC and press whatever key you need to enter the BIOS/UEFI. Some motherboards use F8, some use F12 while others use Delete. It should tell you on the black POST screen when your computer first starts.
- Then select boot options and add USB to the list.
- At last, save and reboot.
Now your computer is set up to boot from USB. And if you’re using a DVD instead. You can obviously select your DVD drive in the boot options menu. Make sure to save the settings before you reboot it, otherwise, you will have to go through it all again. Before rebooting, make sure you have your media system on the computer and then reboot.
When you see the option prompt to boot from USB/DVD. Then say yes and let Kodibuntu load. It should only take a few seconds and you should see the Kodibuntu desktop. From here you can also jump straight to watch something or configure your setup. If you saved some space when setting Persistence, any configuration changes you make can be saved for next time.
I hope you like this article and it helped you a lot, for further queries, just let us know in the comment section below.
Also See: Unmountable Boot Volume Windows 10 – How to Fix


‘download a copy of Kodibuntu from here’ with no here.