Hard drives actually have an end of life. Extensive use can also shrink the lifespan of a hard drive further than its expected life span too. On average, you guys can expect a hard drive to last three years before you even see a drop in performance as well. In this article, we are going to talk about How to Solve Old Hard Drive not Showing Up Issue. Let’s begin!
Many hard drives will outlive their three-year life estimate and the entire drive may not fail completely but it will develop problems over time. If you start to see problems with a hard drive, you should back up its contents before it fails.
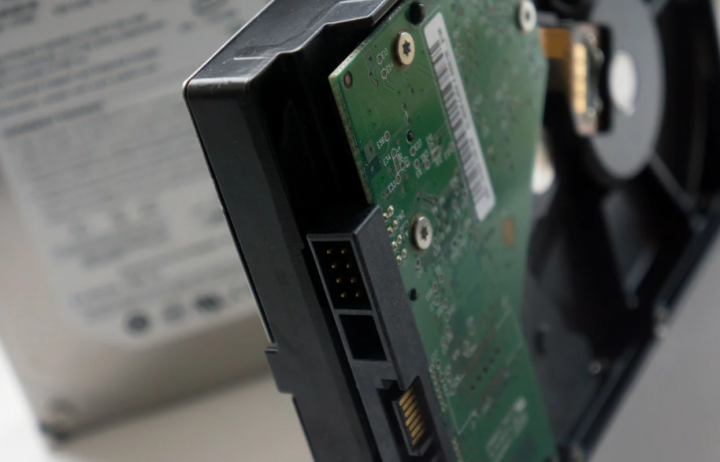
Old HDD not showing up in Windows 10
Whenever hard drives get old, their problems manifest in all sorts of ways, however, failed to connect or to be detected via an OS is mostly at the forefront. The drive may spin up, and you guys will actually hear it working, however, it may not appear in File Explorer on Windows 10. It may not be listed as a location for installing an OS, and you guys may not even be able in order to access it from the Disk Management tool.
If your old HDD is not showing up in Windows 10, then just run through these basic checks, and then try the fixes listed below as well.
Basic checks
A hard drive that doesn’t show up in Windows 10 may also be internal or external. This will limit or impact the checks that you guys run but do whatever is possible for the drive as well.
- You can change the connecting cable (for external drive).
- Try to connect to a different port (external drive).
- Also, try o connect it to a different system (internal and external drives).
- Open the run box along with the Win+R key and enter
diskmgmt.msc. Now check if the drive is listed. - Then open Command Prompt along with admin rights and then run these two commands, one-by-one;
Diskpartand thenlist disk. Just check if that is listed. - Also, access your BIOS and then check if the hard drive is listed there.
Well, if the disk fails to appear in any or all of the above cases, then your hard drive may not be salvageable as well. If it does appear or you also hear the hardware detected sound whenever you guys connect it. Then the problem might still be fixable.
Change drive letter and path | hard drive not showing up
This fix can also be applied if the hard drive shows up in Disk Management.
- First of all, tap the Win+R keyboard shortcut in order to open the run box.
- In the run box, then just enter
diskmgmt.mscand tap Enter. - Right-tap on the drive and choose Change that letter and path.
- Tap on Change.
- Choose a new letter, and click OK.
- When the drive letter has been changed, then just remove and connect the drive again.
Inspect BIOS and Disk Manager
- Restart your PC and then tap on repetitively Delete (F2 or F10) on your keyboard in order to access BIOS/UEFI settings. (These steps can also differ so just make sure to follow on-screen instructions or Google your motherboard and find out as well.)
- Now navigate to the BOOT tab.
- If you guys are seeing old HDD on the list of available boot devices, then we’re good to go.
Moreover, when we can safely say that the motherboard is recognizing the HDD, then the system is the problem. And that’s where the Disk Manager utility actually comes in handy. Before we start meddling along with this tool, we have to draw your attention to that misusing this tool will cause more damage to your OS actually. So, follow the steps closely and we also should be good to go:
- In the Windows Search bar, you have to type Disk management and open Create and format disk partitions.
- Just locate the troubling drive.
- Right-tap on it and choose Change drive letter and paths.
- Tap on Add.
- Choose Assign the following drive letter and give any available letter in order to partition.
- Tap on OK.
After that, you guys should be able to see the brand new drive on This PC. If that’s not the case and your HDD is identified just like a drive that’s not initialized and without even allocated space, formatting is the only solution as well.
Initialize disk | hard drive not showing up
This solution actually applies if you’ve installed an old hard drive internally on your system that is. You guys have two separate internal drives on your system, or also you have an SSD and you’ve installed an HDD alongside it.
- You guys can use the Win+R keyboard shortcut in order to open the run box.
- In the run box, just enter
diskmgmt.mscand click on the Enter key. - Right-tap on the hard drive (not the storage area bar, however, the drive name).
- From the context menu, just choose Initialize Disk (this will not result in data loss).
- Complete the process and then open File Explorer to see the contents of the disk.
Fix unallocated space
It is possible that the drive hasn’t been formatted and no volumes have been created on it. It is simply an unallocated space. You will have to set it up. A drive that is all unallocated space will not actually have any files on it so that you guys don’t need to worry about losing data that was never there as well.
- You can use the Win+R keyboard shortcut to open the run box.
- In the run box, you have to enter
diskmgmt.msc, and tap Enter. - Right-tap on the storage bar of the disk and choose to Create a simple volume.
- Choose a name, size, drive letter, etc, and permit Windows 10 in order to create the volume.
- The drive will also show up in File Explorer.
Update disk drivers
This solution also works if your hard drive appears in Device Manager and it’s also an external. You guys can try the same fix for an internal drive, however, it may not be effective.
- You have to open Device Manager.
- Then expand disks.
- Right-tap on the disk and choose Update drivers.
- Just choose ‘Search automatically for drivers’ and then install any driver updates that are available.
- Disconnect and reconnect the drive again as well.
Check hardware | hard drive not showing up
A basic check-up is always a really good idea. So, just confirm that the HDD is properly plugged in. Make sure that HDD is connected along with both the power supply and motherboard data cable. Also, you have to make sure that you have the right means in order to run the 3.5-inch drive. If your motherboard doesn’t actually support IDE, you can always get a converter and plug it in as a USB as well.
Plus, there’s also the health question. In order to inspect HDD health, then you’ll be needing a third-party bootable drive along with the diagnostic tool. In this article, we thoroughly explained the diagnostics and monitoring of HDD in the Windows platform. So, just make sure to check it out.
If you guys are positive that everything is spot on and your HDD is still not visible. Then just try connecting it to an alternative PC. If you guys are unable to access your HDD on a different PC configuration. Then we’re sad to inform you that it’s probably the end of the road for that HDD device as well.
On the other hand, if it works great on an alternative configuration, then just move on with the additional steps.
Conclusion
Alright, That was all Folks! I hope you guys like this article and also find it helpful to you. Give us your feedback on it. Also if you guys have further queries and issues related to this article. Then let us know in the comments section below. We will get back to you shortly.
Have a Great Day!


