Media center software is a great place to store, organize, and also watch your video content. And Kodi is one of the very best platforms out there for streaming video, audio, and also for music. From set-top boxes or Android devices to televisions and home theaters. Kodi has a terrific interface, a vast library of add-ons and plugins, and also a quick and easy setup method. So it is no wonder that so many people have moved all their watching into the streamlined Kodi interface. We are going to tell you about how to clear the cache in Kodi.
If you are a long-time Kodi user, though. Then you might have noticed your streaming speed has grown slow and stuttery during regular use. With so much usage over a long period, it is unsurprising that Kodi can occasionally feature slowdowns and buffering. However, a certain amount of playback problems can be caused by network instability or typical slowdowns when buffering. Sometimes the platform itself becomes too slow to use reliably. If this is what has happened for you, it may be time to clear the cache out in Kodi.
Contents
clear cache in Kodi
Just like with an Android phone or tablet, clearing your cache in Kodi is not a process you have to do very often. But it can be pretty helpful when it comes to fixing small issues with interface and playback. Unlike in the Android environment, clearing your cache in Kodi wants an additional plugin. Our previous methods for clearing the cache became outdated when specific repositories were shut down and closed their doors for good. This is an unfortunate but inevitable side effect of the rapidly evolving Kodi ecosphere.
Previous ways to clear out the cache included using the Merlin Wizard add-on or other add-ons. But those repositories are not functioning anymore. We will definitely keep this article up-to-date whenever possible. But if you find that the method described below stops working. Then please let us know so that we can find another method for you to use.
Installing Super Repo| Clear the cache in Kodi
If you are a long-time Kodi user, then you have no doubt added dozens of repositories and plugins via the internal file browser. If you are new to the platform, then it can be a bit overwhelming. No worries—installing Super Repo, or any other repository for that matter is easy and also fast.
Steps TO Clear the cache in Kodi
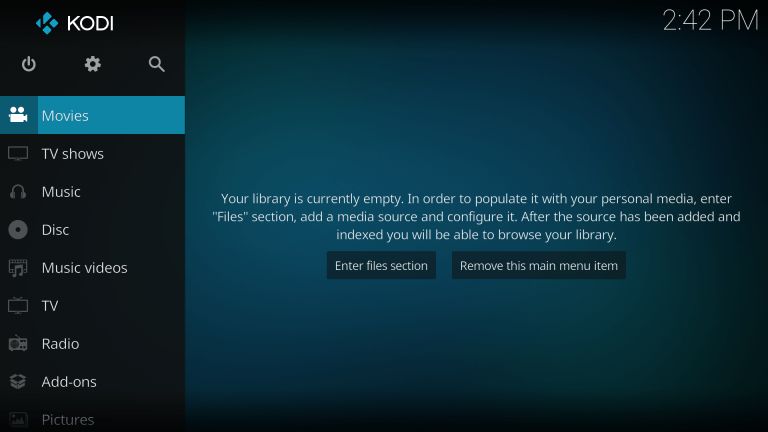
- Start by heading into the settings menu of Kodi 17 by clicking or tapping the gear icon on the left-hand menu. This is where you will find the internal file browser needed to add repositories and other third-party plugins.
- Select the file manager, then tap or double-click “Add source” and select the “None” field to open the text field.
- Enter “http://srp.nu” exactly as shown in the field using Kodi’s built-in keyboard.
- Give the name “SuperRepo” to the new repository. Hit “Okay” to add the source.
So, now that we have SuperRepo downloaded, we also need to install it. Kodi makes this unnecessarily complicated. But the steps are simple when laid out for you. Go back to the Kodi home screen, and select “Add-Ons” from the left-side menu. Then select the packaged item (it looks just like an open box) in the upper left-hand corner of the screen.
Select “Install from the zip file,” scroll down to “SuperRepo” in your list of zip files, and then select it. Select “krypton”, then “all”, and then finally select “superrepo.kodi.krypton.all-0.7.04.zip”. (Note that the zip file may have a different name as time passes and additional SuperRepo builds drop. But there will only be one zip file in the directory. And should be straightforward to identify that file you need.) Now hit “OK” and the SuperRepo files will extract from the zip archive.
Now we need to install the files into Kodi. Select “Install” from repository” (it’s right above “install from zip file”) then click “Super Repo All.” A whole list of add-on categories will appear; you can explore these add-ons at your leisure, but for now, select “Program Add-ons” and then “SIMTECH WIZARD.” Select Install, and the add-on will install!
Using SIMTECH WIZARD
Now that we have got the Simtech Wizard installed (whew!). We need to open it so that we can clear out that cache in Kodi! Go back to the main menu and head to the Add-on browser. Select “Program add-ons” and then “Simtech Wizard.”
Using SIMTECH WIZARD to Clear your KODI Cache
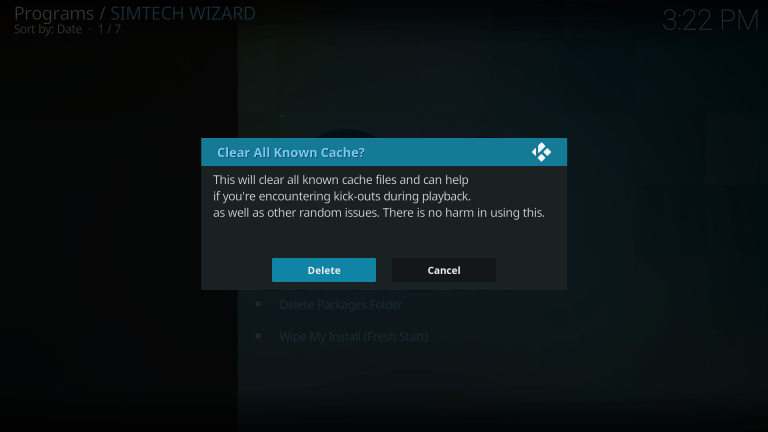
Tap on the wizard to start the add-on. Select “SIMTECH Maintenance Tools” and then “Clean/Wipe Options.” And there it is, at long last – the “Clear Cache” command!
Click or tap the Clear Cache command, and a confirmation dialog will come up – go ahead and hit delete! A series of dialogs will come up asking if you want to delete particular directories, to restart Kodi. Just accept all these, and soon all your cache troubles will be behind you.
So that is it! You have cleared Kodi’s cache. If you ever feel like your device is running slower than usual, or your Kodi box is buffering more than it should, clearing the cache of your device usually helps resolve any problems. Do not forget that buffering and streaming problems can also create network issues. So if you are still experiencing streaming issues following a cleared cache. Check your router and modem settings, or contact your ISP with network speed concerns. Finally, remember that streaming from some Kodi repositories can most of the time be unpredictable or unstable. So always make sure that you are using safe and legal repos.
Conclusion
Alright, That was all Folks! I hope you guys like this article and find it helpful. Give us your feedback on it. Also if you guys have further queries related to this article. Then let us know in the comments section below. We will get back to you shortly.
Also See: How to Set HomePage in Browser – ‘content com android browser home’


