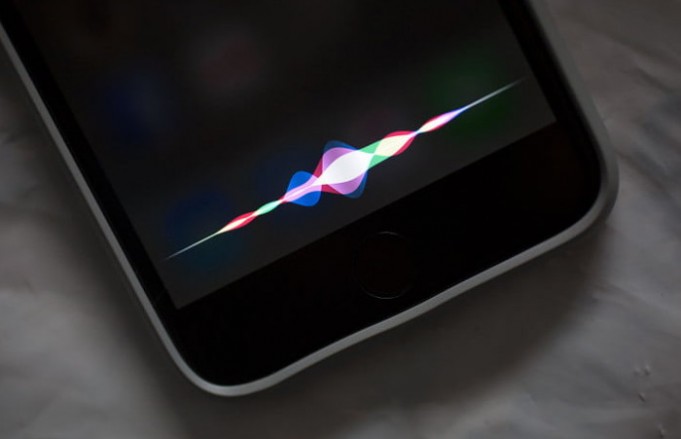
While it is true that Siri is quite useful for many users every day, we must also keep in mind that as far as privacy is concerned, it may not be the most recommended tool. And, if we look back, not too long ago, the news came out that Apple kept some recordings of conversations with the voice assistant in question, and that around 1% of those recordings were heard and interpreted directly by human persons.
This is initially done in order to improve, but the truth is that it exposes users’ privacy a lot. And, precisely because of this, given that there is no apparent official solution by the firm, an alternative correction has been created, with which you can get Apple to stop storing your conversations with Siri directly on its servers.
How to prevent Apple from storing your conversations with Siri
As we mentioned, although there are many users who are requesting it, at the moment there is no official method to avoid this function natively, but the developer Jan Kaiser has created his own profile for iOS, with which Disable this feature directly. If you are interested in installing it, you just have to follow these steps :
- On your iPhone, iPad or iPod touch, open Safari and access this download link.
- Automatically, an alert will appear indicating that the profile has been downloaded and that you should go to the settings to install it. Then open the Settings application.
- The moment you do it, you will see how the “Downloaded profile” alert appears first. You must press it and then choose the profile “Prevent server-side logging of Siri commands”.
- Then, all you have to do is press the “Install” button and in a few moments, the sending of data from your device will be deactivated.
Also See: How To Recover the Original Photo after Retouching on iOS Devices


