Tumblr has brought a new experience to the concept of blogging. It provides the users seven post types. Also, it enables them to reblog almost anything. All of this makes blogging very easy. However, when a large number of posts gets accumulated, it becomes hard for the user to manage them. Here, a less known feature of Tumblr comes in handy. And that is Mass Post Editor. Also known as Mega Editor.
Mass Post Editor enables the the user to delete multiple posts at a time. It also helps to modify the tags of many posts together. That seems useful, doesn’t it?
In this article, we will have a look at the basics of how you can use Mega Editor to manage posts on Tumblr. We will also tell you about the effective New XKit mini-extension. This extension clearly improves the function of Mega Editor.
Contents
How to Find Mass Post Editor
Finding Mass Post Editor could be a bit hard. Especially if you don’t know where it’s located. Don’t worry, we will show you step by step how you can find Mega Editor. And once you find it we will help you use it to manage your posts. So let’s get started.
- First of all, sign in to your “Tumblr account”.
- Then go to the “Tumblr dashboard”.
- Here in the top rigth corner, among other options, you will find the “Account option”.
- Click on the “Account” option.
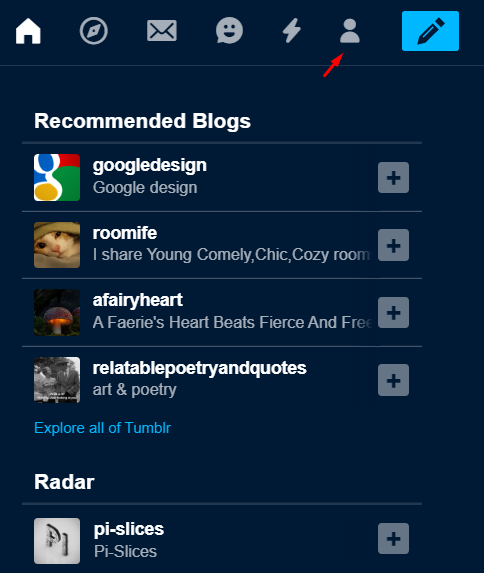
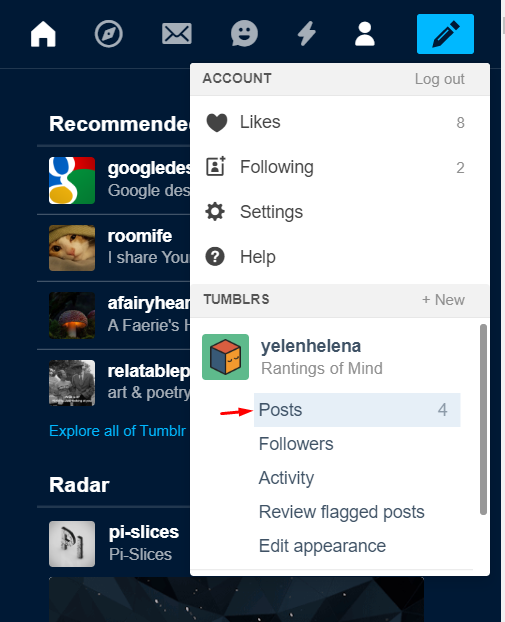
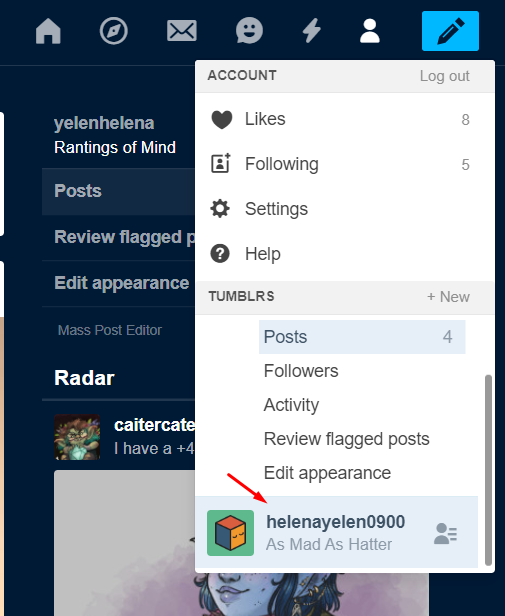
- Clicking on the Account option will bring a “drop-down menu” before you.
- Here under your primary blog, click on the “Posts” option.
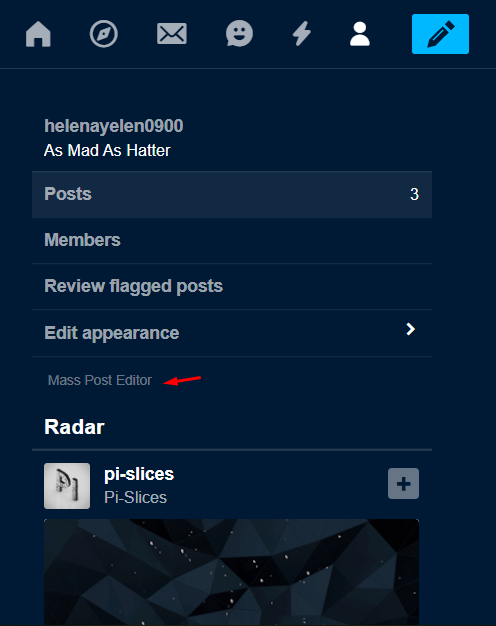
- Click on the “Mass Post Editor” option.
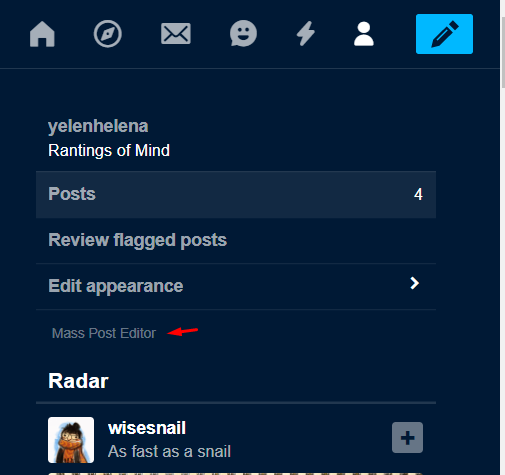
- It will take you to another window.
- Here, you can “select posts, delete them or add tags“, whatever you like.
Recommended: How to Fix iCloud Photos not Syncing to iPhone, Mac, and Windows
Using Mass Post Editor for secondary blog
Now, if you want to manage posts of the secondary blogs as well, there are two ways to do that.
First Method
First is to open the Account menu on the top right side of the screen. Then click on the secondary blog.
This would open the secondary blog. Here, click on the Mass Post Editor option just like you did for the primary blog.
Second Method
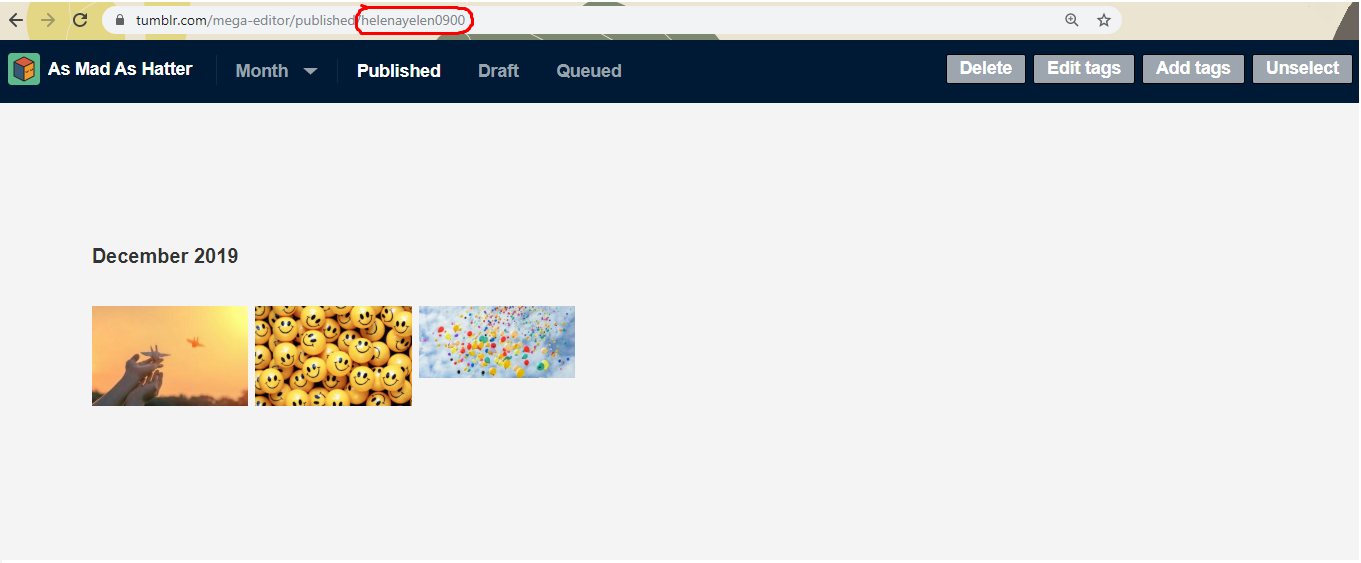
The second and faster method of using mega editor for secondary blogs is by changing url. Once you have opened the new window of mega editor for the primary blog and have done editing or deleting the posts.
- Stay on the “mass post editor screen”.
- Here, go to the “address bar” on the top.
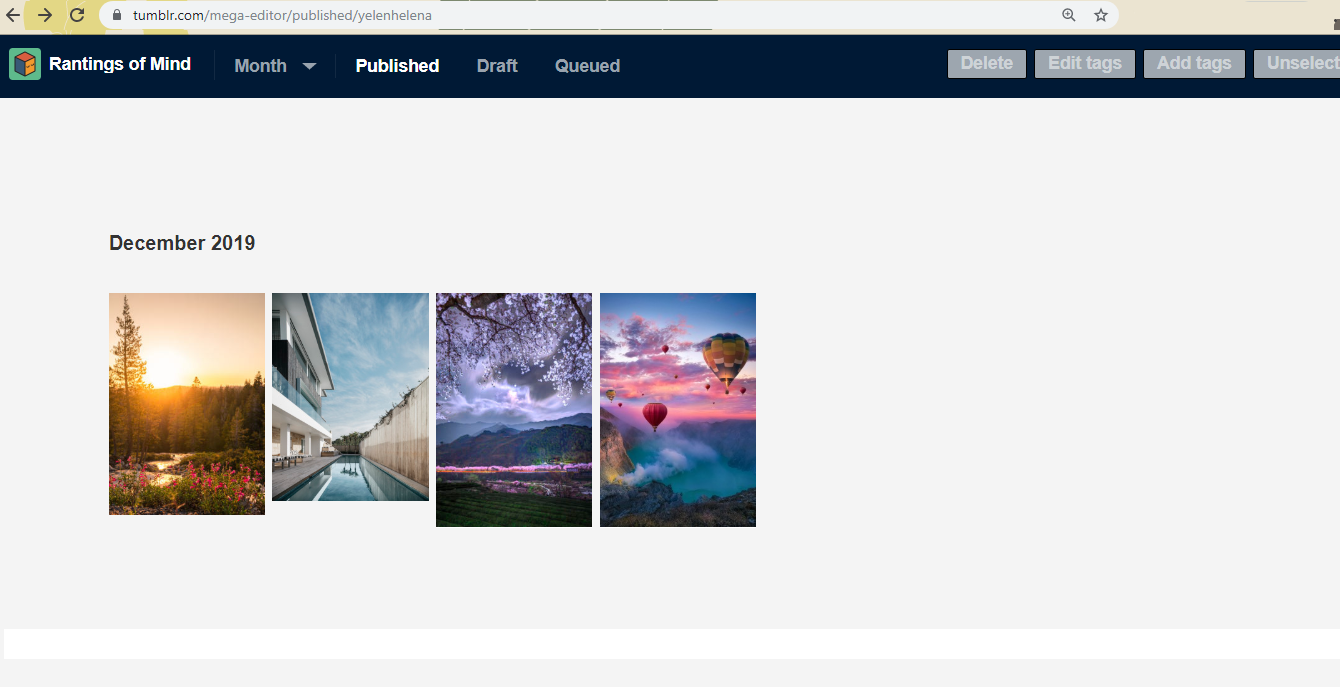
- “Replace the title of primary blog” with that of the secondary blog.
- Press “Enter”.

- The page will “reload”.
- And you will have the “posts of secondary blog” there.
How Mass Post Editor Functions and its Limitations
We have told you in detail how you can locate mega editor in Tumblr and reach it. Now we will tell you its features. In other words, what you can do to the posts using this mega editor. So let’s go through that.
Month-based Division of Posts
On the screen of mass post editor, you can see that posts are laid down categorized by months. This makes it easier for the user to locate any particular post by just going to the month in which that post was made. You can use this month-based division to locate your desired post/s in two ways:
First way
First, you can scroll down on the screen to reach the specific month and then look for the post in that division.

Second way
Second, you can click on the Month option on the top of the mega editor screen. A drop-down menu will appear. Select the month in which the desired post belongs. And that specific month will appear on the screen with all its posts.

Thumbnail Layout of Mass Post Editor
The posts on the mega editor screen are laid out in thumbnails. This makes it quite easy to identify a certain post without having to open them. However, if you want to open a post, you can always open it in a new tab.
Limitation
By the way, using mega editor, the user can’t maximize a post on the same screen.
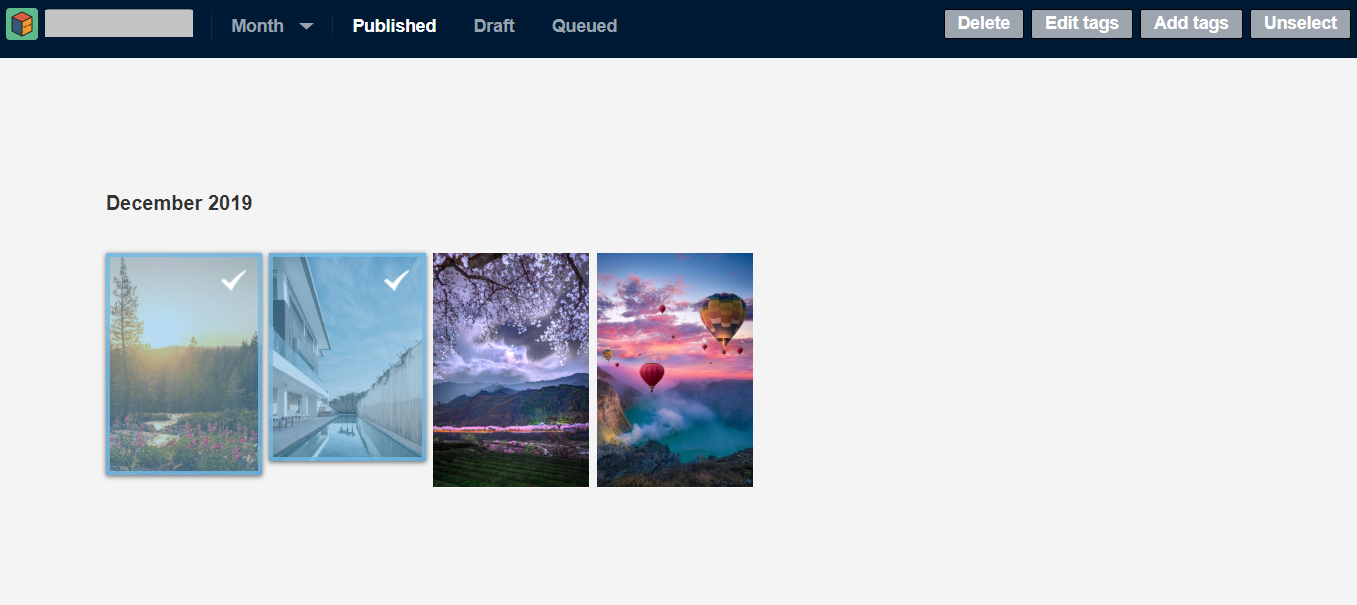
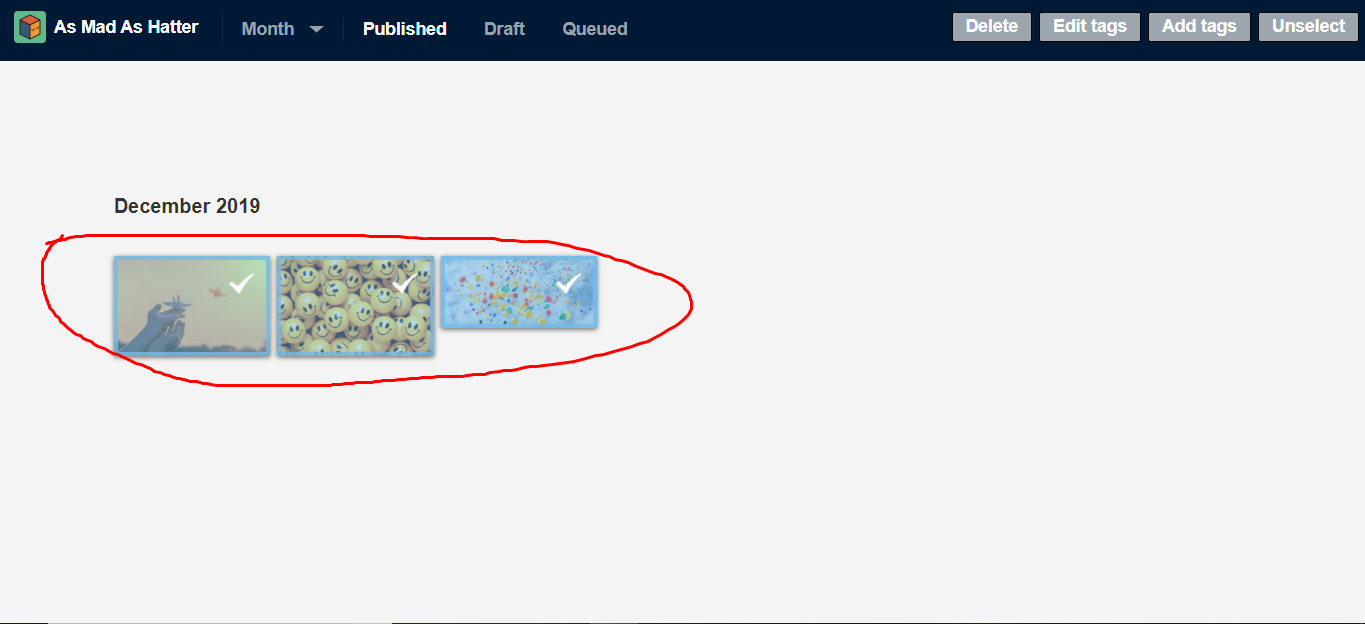
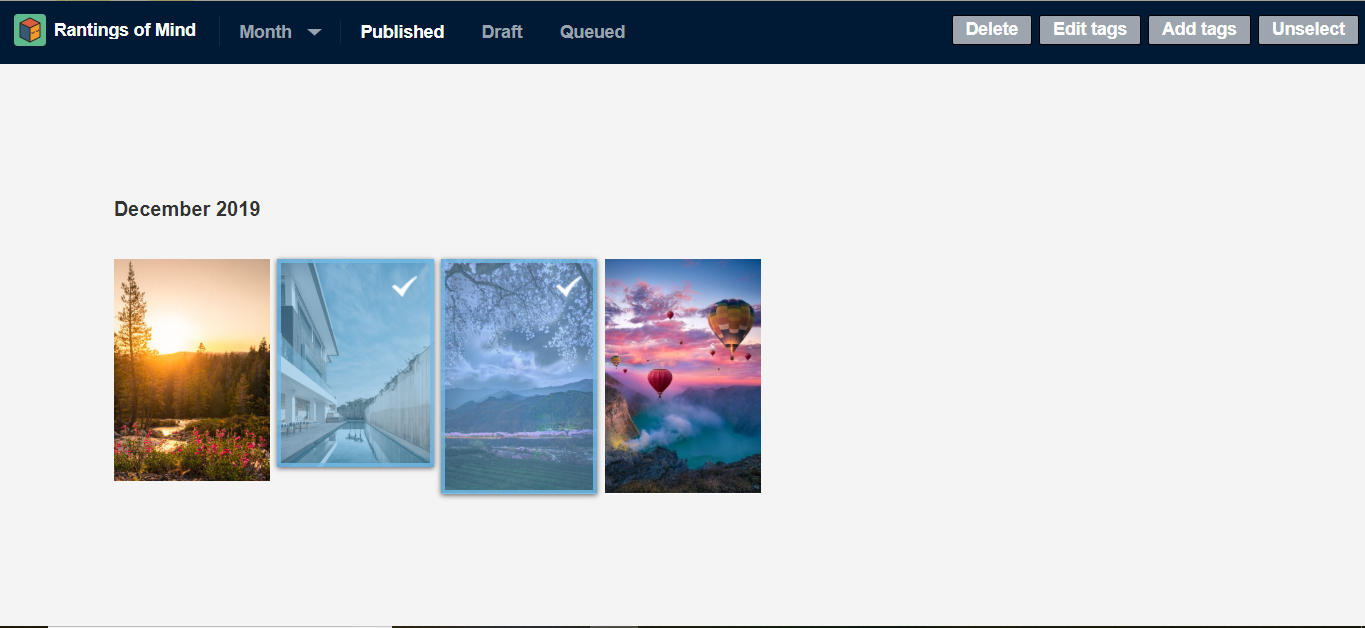
Selecting Multiple posts
To perform a function on a number of posts simultaneously, you can select them together. For that, you have to click on each post, that you want to select, individually.
Limitation
Tumblr’s limitation here is that one can’t drag the cursor to select multiple posts. You have to click them individually. This makes the multiple selection, nevertheless, hard and time taking. Especially when you want to perform a function on a large number of posts. And that’s exactly what mass post editor is supposed to be used for.
The other limitation is that you can’t select more than a hundred posts at a time.
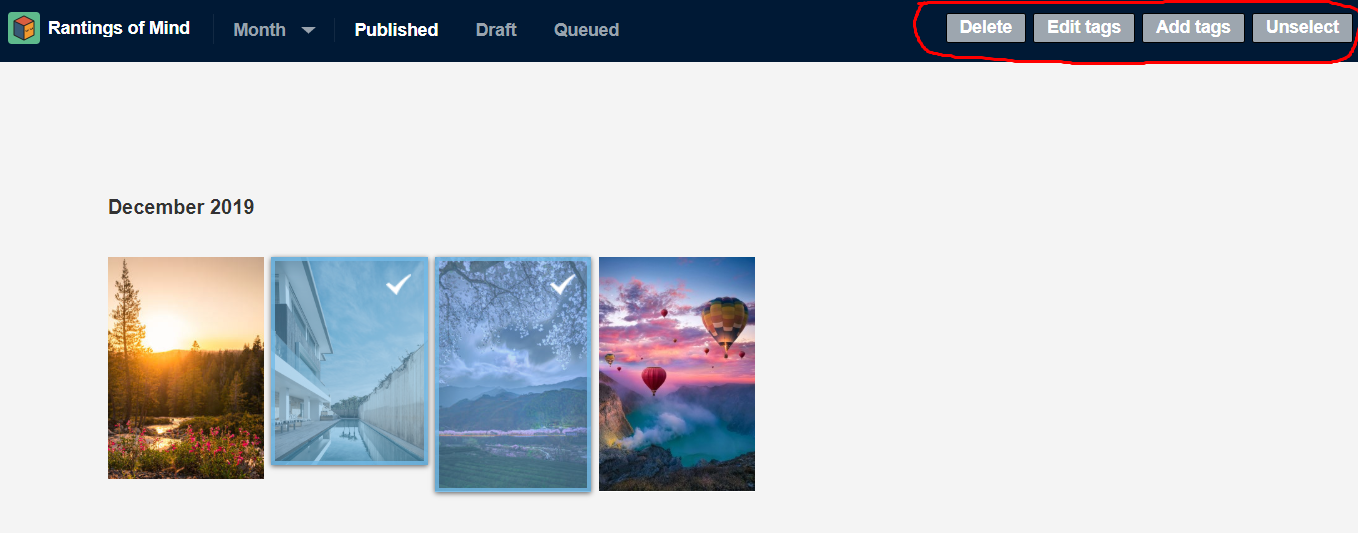
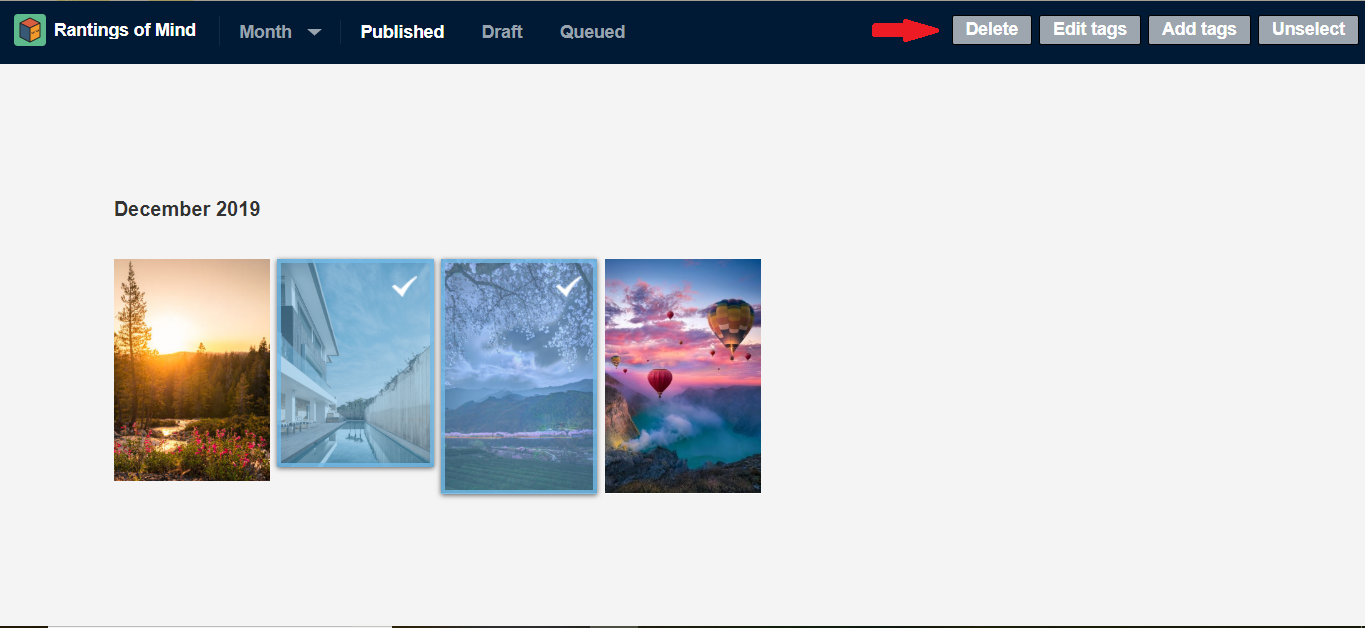
Once you select any post/s, the four buttons on the top right of the screen will be highlighted. That means they are ready to be used.
Deleting the Posts
The most commonly used function is to delete the bulks of gathered posts on Tumblr and make space. For that,
- “Select the posts” you want to delete.
- Click on the “Delete” button on the top right side.
- A “confirmation dialogue box” will appear.

- Click the “Ok” button.
Note: Once deleted, you can’t undo the action or restore the deleted posts. So choose carefully what you are going to delete.
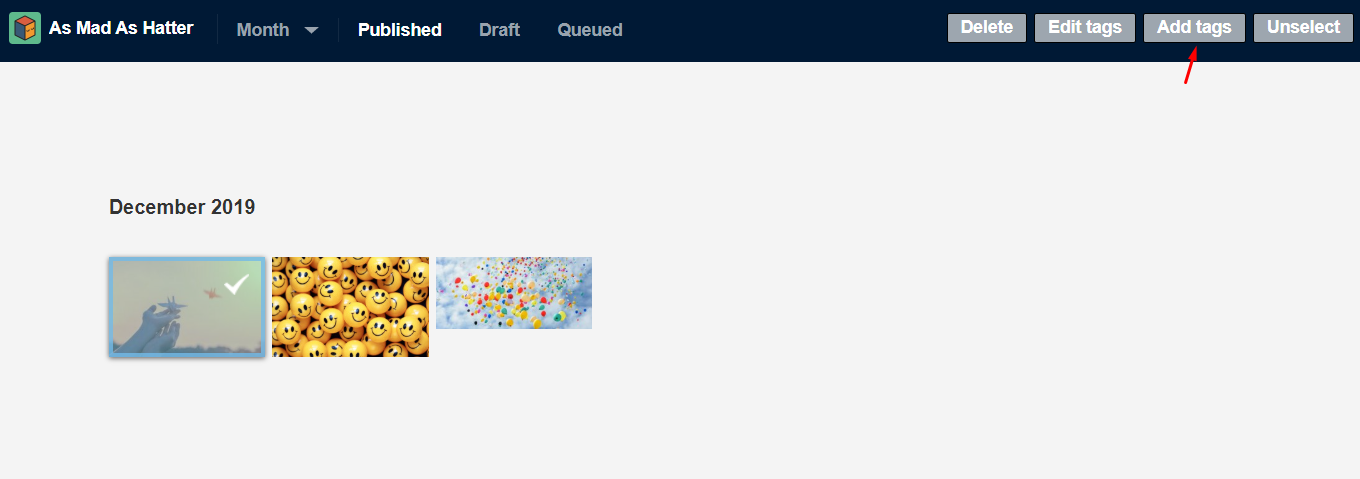
Adding Tags
- “Select the posts” you want to add tags to.
- Click on the “Add Tags” button on top right of the screen.
- A “dialogue box” will open.
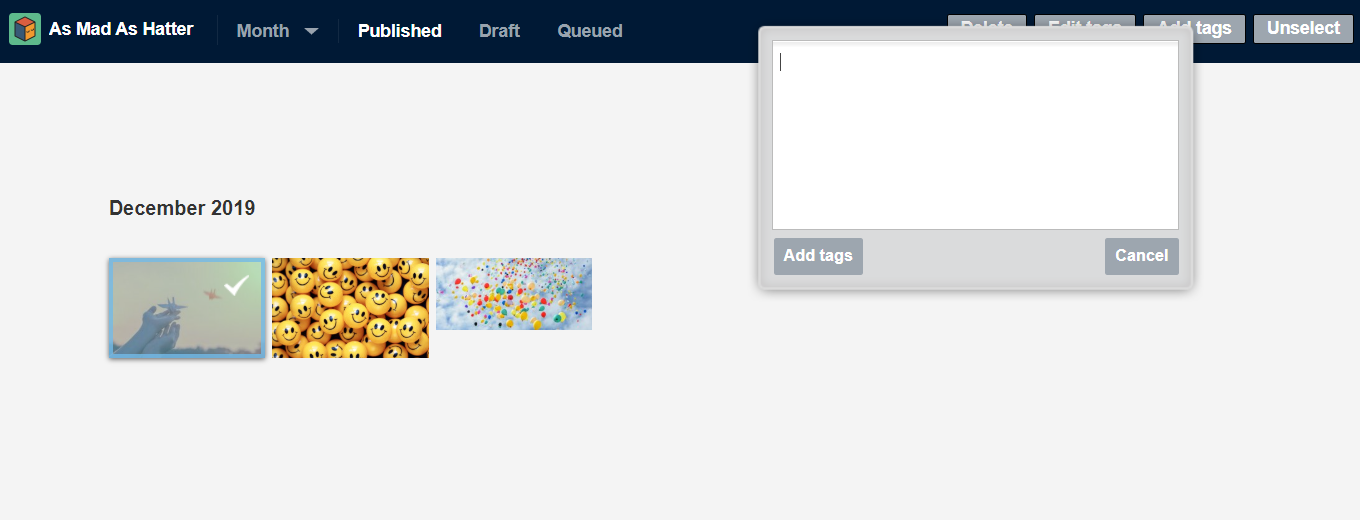
- “Write the tag” you want to give to your post.
- Press “Enter”.
- What you wrote will become a tag.
- You can “add more tags” like that.
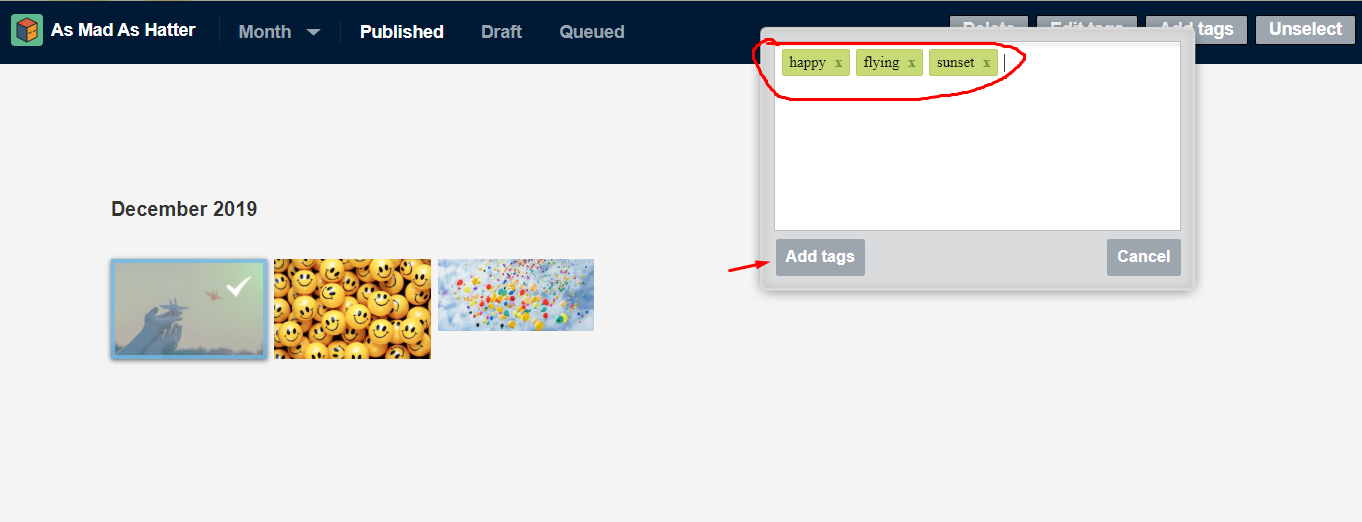
- Click on the “Add Tag button” in bottom-left of the dialogue box.
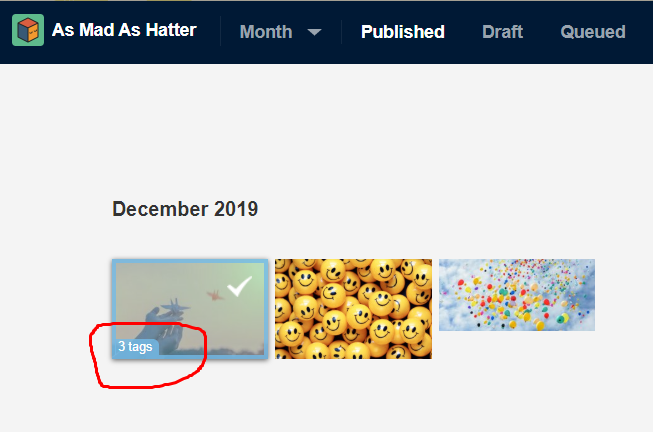
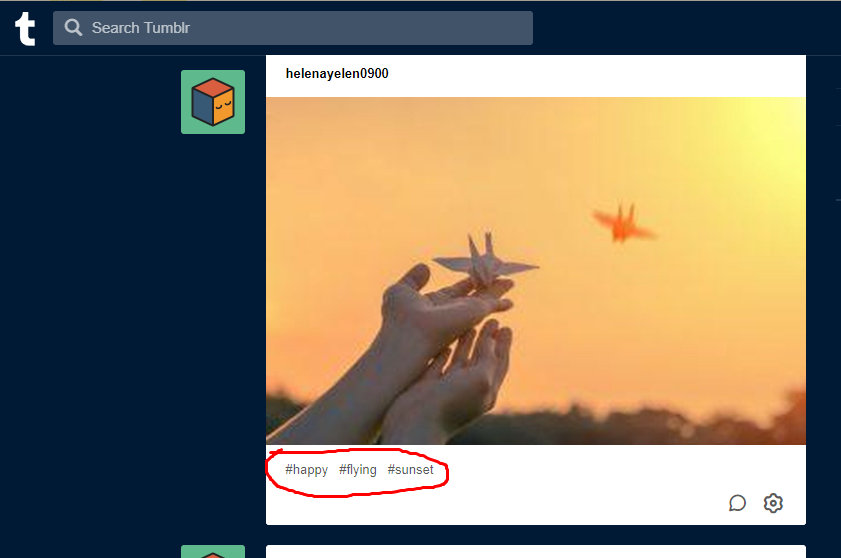
Note: When you select a post, you can see the number of tags on it in the bottom-left corner of the post. And on the dashboard, all the tags are displayed under the post.
Removing Tags
You can remove tags in the similar manner.
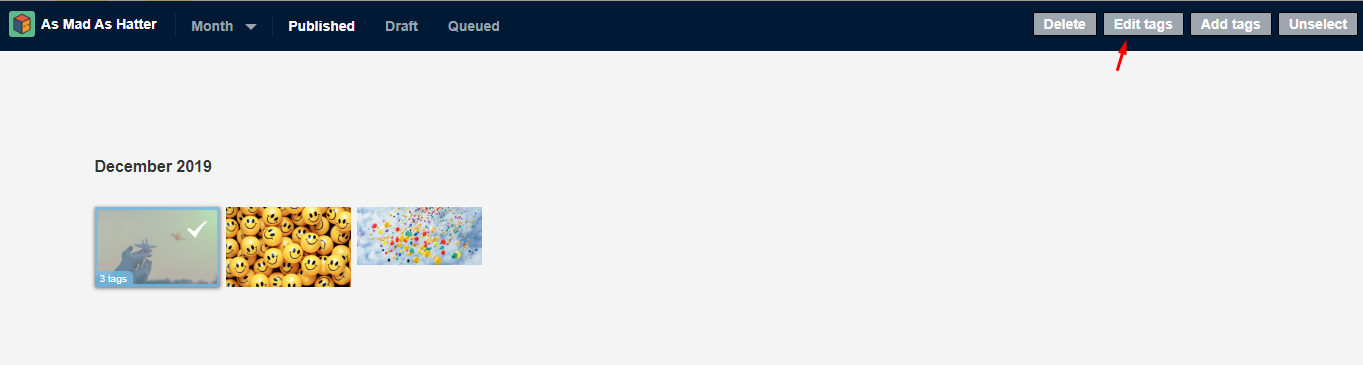
- “Select the post/s” whose tags you want to remove.
- Click on the “Edit tags button” on top right of the screen.
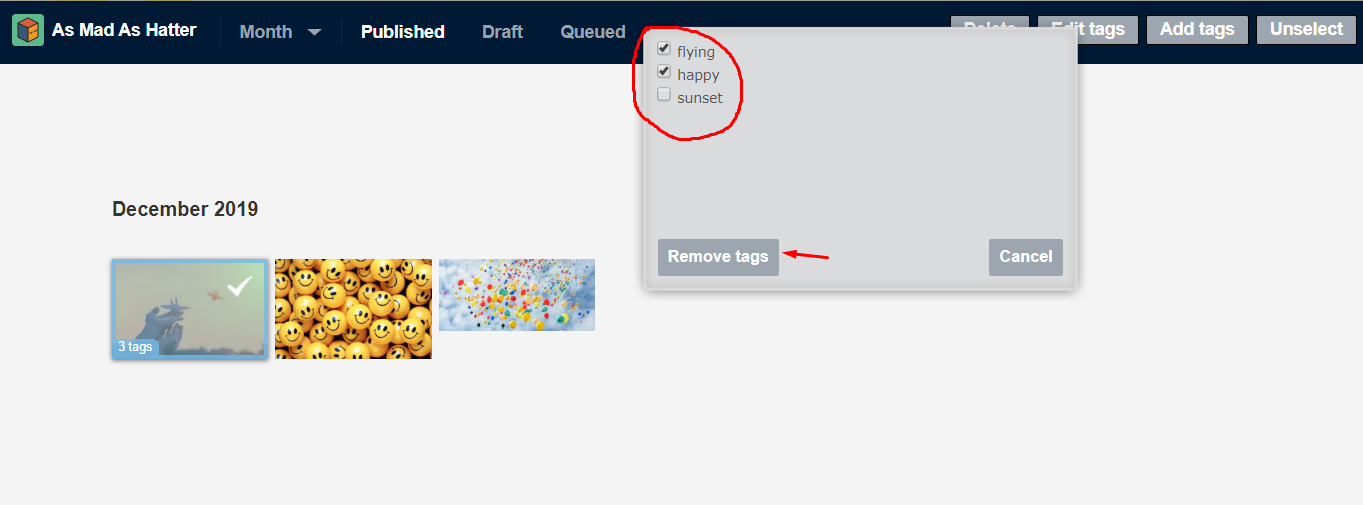
- A “dialogue box” will appear containing tags with checkboxes.
- “Check the tags” you want to remove.
- Click on the “Remove tags button” in bottom-left of the dialogue box.
The UnSelect Button
Then comes the not so necessary unselect button. When you have selected any post/s, you can unselect them by pressing the unselect button in the top right corner of the screen. Or simply by clicking on any empty side of the screen.
MASS+ NEW XKIT MINI-EXTENSION
Tumblr’s mega editor is , as you see, very simple and lacks a lot of features. If you feel this lacking and want to go for more in it, you can use New XKit with its Mass+ mini extension. New X-Kit is an add-on will many mini-extensions that surprisingly improves the performance of Tumblr.
It gives many filtering options that make selection of specific post types really easy. Moreover, one can also filter posts by their tags.
How to Get MASS+ NEW XKIT
If you don’t have this add-on yet, you may add it to either your Chrome or Firefox.
- After that, refresh the Tumblr dashboard.
- New XKit pop-ups will come on the screen.
- Go through the pop-ups to integrate it with Tumblr.
- Now, click on the New XKit icon on top right of Tumblr dashboard.
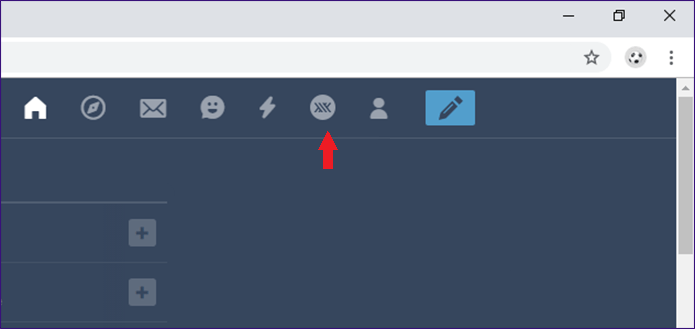
- After clicking on the icon, New XKit management panel will appear.
- Here, click on Get Extensions option on the bottom-left side.
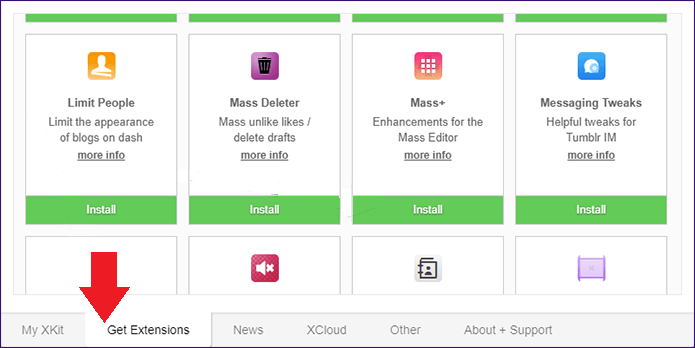
- Then click on the Install button under Mass+ and there you go.
Filtering Options
Now open Mass Post Editor on Tumblr and you will see the change yourself. You will see that the top-right side of the screen has filtering options.
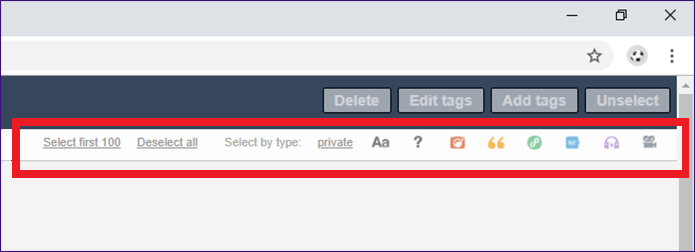
- The first option Select First 100 lets you select 100 posts by just one clicking instead of clicking all of them individually.
- The Deselect All option helps you deselect the selected posts by just one click.
- The next option, Select by Type allows you to filter the posts by type i.e. text, image, video, link, etc. This helps to select one type of posts easily.
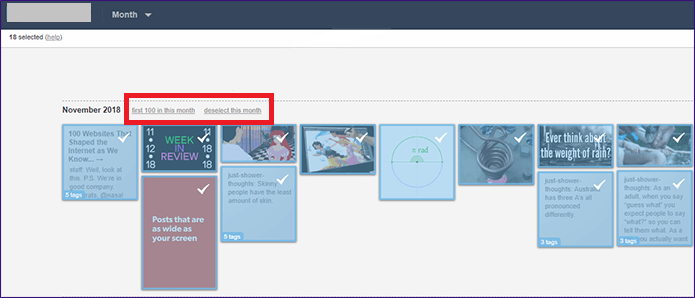
Selection by Month
You will find two options given next to each month. The first one lets you select the first 100 posts of the given month. While the other allows you to deselect the selected posts of just that particular month without deselecting the selected posts of the other months.
If you want to filter posts by tags, you can do that as well. This way you can select all the posts that are similar or are related to one topic. Thus, making sorting of the posts very easy and useful. To filter posts by tags, you need to activate another feature of Mass+ mini-extension.
- Go to the “Tumblr dashboard”.
- Click on the “New XKit icon” on the top right.
- The “XKit management panel” will open.
- Here, click on “My XKit” on the bottom-left.
- And then, click “Mass+” option.
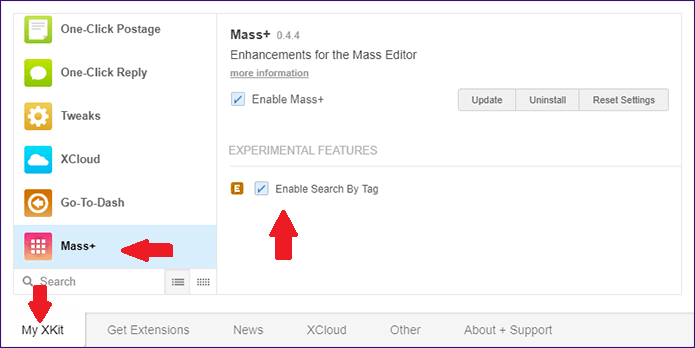
- Check the box next to “Enable Search By Tag”.
- And then “exit the panel”.
- Now, refresh the page of Mass Post Editor.
- Here, a new option will appear as Search By Tags.
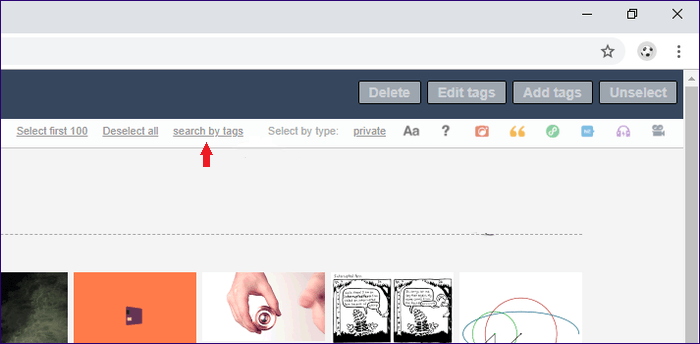
- Click on Search By Tags.
- A “dialogue box” will open.
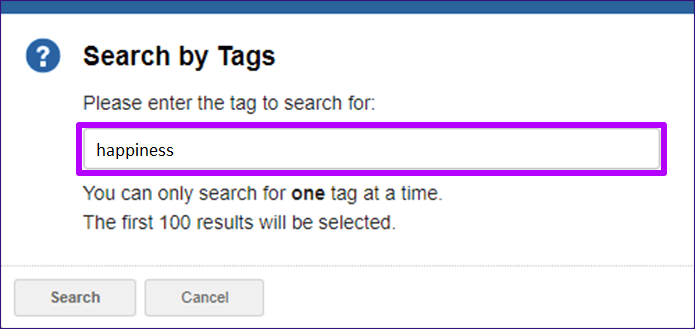
- “Write any tag” here whose posts you want to filter out.
Now you can filter out posts by any tag and then you can either delete or edit them as you like. Moreover, this option will filter out the most recent 100 posts with that tag. So if you want to choose some older posts, click on a specific month to be the starting point.
Note: This feature of Mass+ is experimental yet, so it allows you to search just by one tag at a time. In future, it might bring further improvements, however.
Final Word
Mass post editor proved to be a help in managing Tumblr’s posts. And Mass+ New XKit mini-extension further added to its glory by giving it more features. Managing the bulks of Tumblr posts should not be a big concern now. And I hope this article was helpful in guiding you in that regard. So get started with your new experience in Tumblr with its mega editor and Mass+ New XKit mini-extension!!!