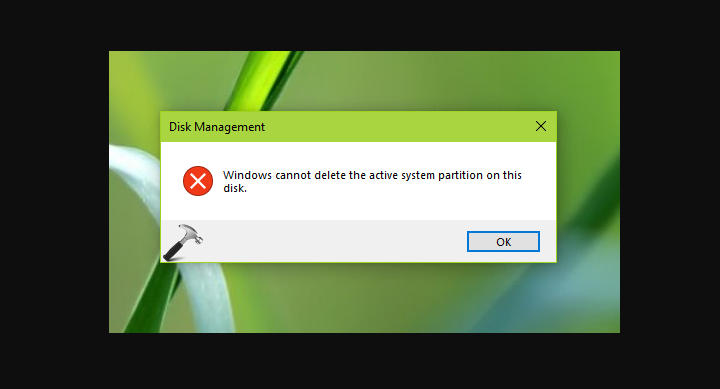
Do you want to delete Active System Partition in Windows 10? If yes, then you are in the right place. Disk Management is an essential tool that is built-in in Windows OS, so you might use this free tool to do disk management. When you want to delete a system partition, it is likely to be failed because of Delete Volume feature is greyed out in Disk Management on Windows 7, Windows 8, Windows 10.
Also See: How To Fix ‘Like What You See’ Issue In Windows Spotlight
Contents
- 1 Why fail to erase system partition?
- 2 Steps To Delete Active System Partition In Windows 7/8/10
Why fail to erase system partition?
In system partition, there is a primary partition that contains a boot loader which is used to boot your OS. So, the partition or segment which holds the boot sector can be set active/enable, alternatively, your PC is unbootable. Therefore, if you wish to remove your system partition, Windows Disk Management stops doing this work.
You can also view the partition on disk 1 is labeled “System, Active, Primary Partition“, so it is not allowed to be removed or formatted in Windows 7/8/10. Rather than, partition C is can be removed because delete is not allowed on the current system, boot, pagefile, crashdump, or hibernation volume.
How to fix this issue? Don’t fret, it is easy or simple and there are some methods below.
Steps To Delete Active System Partition In Windows 7/8/10
Generally, you might select to delete a system partition in two cases:
- At first, you should install two OS on your PC. Now you don’t need to use one OS and plan to remove it. Or you like to remove one active system partition to free up some storage space. Then, you might use the unassigned space to create a new partition.
- If you like to reinstall a new OS to its original location, maybe you choose to wipe the earlier OS.
Here, this article will explain to you how to remove the system’s active primary partition in a single or dual system on your PC.
Case 1: Remove System Volume in Single OS
As for many of you, only one OS is installed on your PC. Usually, probably there is something that went wrong with your OS. Like the blue screen, system breakdown, black screen, or slow running speed, so a new reinstallation becomes the best choice.
Before you reinstall, you might select to remove the system partition in Disk Management, however, it is not allowed. In this situation, how to achieve our target? Actually, it is very easy and simple in Windows 7/8/10.
Note: Before you remove the active system partition, make sure the confidential data on your hard drive is backed up.
BackUp files:
Download: Link
- Simply run this backup software and then continue to use its Trial Edition to initiate a local backup.
- Select the files you like to back up, as well as the storage path.
- At last, tap the Back up Now button to initiate a backup immediately.
Fix 1: Run Diskpart Command
Many of us consider using the Diskpart command line to remove your system partition. Follow these instructions to erase Windows 7 active system partition.
- Head over to command prompt then opens cmd window after hitting Win + R keys and then inputting cmd. Or you can type cmd in the Search box. You can then right-tap this tool to choose Run as administrator.
- Input diskpart.
- Then enter the list disk to show all the disks.
- Input select disk n. Here n means the total number that contains the active system partition.
- Then type list volume to show all the volumes on the selected disk. Here, after viewing the status and information, you can easily know which one is a system partition.
- Input select volume n. N is the volume number of the PC volume.
- Type command ‘delete volume’ just to perform system volume deletion.
In case if you fail to remove the system partition, please try another method.
Also See: How to Play PS4 on Laptop Without Remote Play
Fix 3: Use Windows Installation Disc
Well, when Windows can’t remove the active system partition, you can then use the Windows installation disc to do this work.
- Initially, connect a Windows 7/8/10 installation disc to your PC. Then after selecting the time format, language, and keyboard method, tap Install Now.
- Then tap I accept the terms of the license and then select Custom (Advanced) installation type.
- Now the main step is to choose system partition and then choose Delete.
Then after you successfully end the deletion you can then format the disk and complete a new system installation.
Case 2: Erase Active System Partition in Dual System
Nowadays the dual system is getting very popular, so, it is possible that you like to remove one to free up more space or to create a new partition. So, Windows can’t delete or remove the active system partition in Disk Management.
In this case, how to erase the system partition? In fact, it is easy to do that. Here we will discuss the two methods to delete system partition in a dual system.
Fix 1: Two OS On Two Different Hard Drives
If you check two system partitions, one is partition C on disk 0, and another one is partition F on disk 1.
In this situation, these two OS can be set as active. If you wish to delete the F drive, you can then do this via a third-party tool.
Fix 2: Two OS on a Hard Drive
Presence Of System Reserved Partition
Once you install an OS, it is possible that there is a system reserved partition at the start of the hard disk. If there are two OS on the same disk, and the boot files of these two operating systems are stored to the system reserved partition, that is active by default.
When booting the PC, you can choose one to boot. If you want to remove one system partition then use a third-party app with the Delete feature.
Absence Of System Reserved Partition
Certainly, you don’t need a system reserved partition on the disk. If there are two PCs, like Windows 7 on partition F or Windows 8 on partition C. You can then set the system partition you like to use active.
Two cases you should consider:
- If you are using Windows 7, and you wish to delete Windows 8 on a C drive, you can then use any third-party software to delete this system partition.
- While using Windows 7, and you wish to remove Windows 7 on partition F, after erasing this active system partition. Then all you need to do is to set partition C active.
You should boot your PC from the bootable disc:
- Install any third-party software then move to its main interface. You can then choose the system partition you like to delete. Then tap the Delete Partition function in the left pane.
- Then right-tap partition C to choose the Set Active feature.
- Tap Apply to execute all the changes.
Conclusion:
So, these were some of the best methods to fix the “Windows Won’t Delete The Active System Partition On This Disk” issue. If you know of any other alternative method to fix it then let us know in the comment section below.
Also Read:


