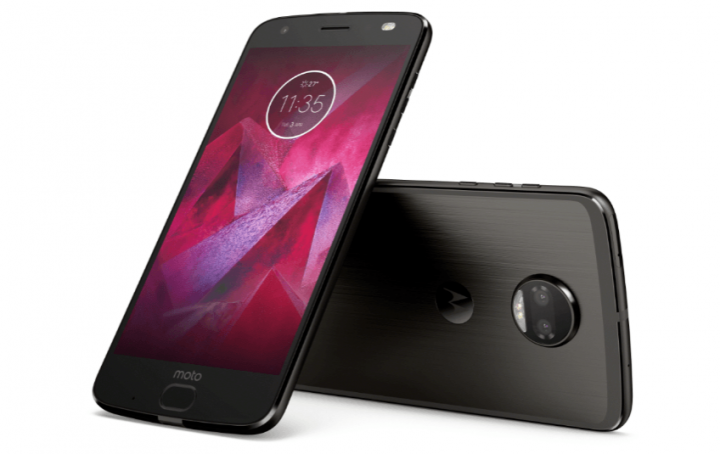
Motorola Moto Z2 Force (codename: nash) was launched in the year July 2017 actually. The phone came out of the box along with Android 7.1.1 Nougat and later upgraded to Android 8.0 Oreo as well. Recently this device has also received the official TWRP recovery support as well. So, on this page, we will guide you in order to install the TWRP Recovery on Moto Z2 Force. This guide basically contains both the written instruction and video tutorial in order to help you install it instantly. Make sure to download the files required and then also jump straight into instruction on how you can install TWRP Recovery and Root your Moto Z2 Force. In this article, we are going to talk about How to Root Moto Z2 Force – Install TWRP Recovery. Let’s begin!
Keep in mind that before heading over to the process, you guys will have to unlock the device bootloader at first. As the smartphone OEMs give a locked bootloader to its devices because of some security concerns. In order to install any third-party file, you will have to unlock the bootloader. Then you guys will be capable to install TWRP Custom Recovery on your Moto Z2 Force device and root as well. The TWRP Recovery can also take Nandroid backups, restore, clear out system/data/cache, and much more.
The phone comes along with a 5.50-inch touchscreen display with a resolution of 1440 pixels via 2560 pixels. It basically runs on 2.35 GHz Qualcomm Snapdragon 835 processor and 6 GB of RAM as well. It basically comes with Android 8.0 Oreo out-of-the-box. This device packs a 64 GB of expandable internal storage as well. The device also brings a 12-megapixel primary camera for the rear and 5-megapixel front face camera as well.
Contents
TWRP Recovery and its Advantages
Team Win Recovery Project is basically an open-source software custom recovery image for Android-based devices. It gives a touchscreen-enabled interface that allows users in order to install third-party firmware and back up the current system which is functions mostly unsupported via stock recovery images. – WikiPedia
How to Root Moto Z2 Force – Install TWRP Recovery
Before going to the TWRP installation process, you have to make sure to follow all the pre-requirements mentioned below properly as well.
Pre-Requirements:
- The file and guide are supported for the Moto Z2 Force (nash) model only. Don’t try it on other devices.
- Moto Z2 Force bootloader should be unlocked.
- A PC/Laptop and a USB cable are required for this process.
- Make sure to take a Full Backup of Device Data (No Root).
- Charge your device battery to full.
- Download All Required Files:
- No Verity opt Encrypt
- Download SuperSU Zip – For root using SuperSU
- Download Magisk Zip – For root using Magisk
- USB Drivers: Motorola USB Drivers
- Download ADB and Fastboot and install it on your PC
TWRP Recovery Details
| File Name | TWRP Recovery |
| Version | V3.4.0 and Higher |
| Support | Official |
| Developer | TWRP Team |
| Download Link | Download |
ADB and Fastboot Tool
After downloading all the required files, drivers, and tools, you have to follow the installation process.
- First of all, turn on the Developer Options and USB Debugging mode on your device.
- Then head over to the device Settings > System > About Phone > then click on the Build Number for seven times to turn on Developer options mode.
- Now, head to the Developer options in the Settings menu and turn on the toggle to enable USB debugging.
- Then, just open the ADB & Fastboot folder on your computer. Then tap and hold the Shift key and right mouse tap in ordr to open the command window.
- Turn off your device > Press and hold the Volume Up + Power button together for a few seconds in order to enter into Fastboot mode.
- Now connect your device with the PC through a USB cable and type the following code on the command windows and hit enter:
adb reboot bootloader
- Now, your device is connected successfully as a fast boot device as well.
- Then type the following command and hit enter to check the fast boot device connected or not:
fastboot devices
- Now, in order to install TWRP Recovery on your phone, you need to type the following command and press enter:
fastboot flash recovery twrpname.img
- To just boot, you guys can use the command fastboot boot twrpname.img
- That’s just it. You’ve successfully installed the TWRP Recovery on the Moto Z2 Force device actually. Now, you need to flash the Root.
What is Root?
Smartphone Rooting is basically the unofficial way in order to enable an administrator or superuser access to your device system and subsystem as well. Hence, the user can easily tweak, change, edit, or delete system files and apps easily.
Along with the help of rooting, you can uninstall bloatware, increase device performance, decrease battery draining, install Xposed modules, and much more. But, smartphone rooting will void the device warranty and you guys may not get software OTA updates anymore. An improper way of rooting can also brick your device easily as well. Hence, make sure to follow the guide properly as well.
The benefit of Rooting:
- You guys can get access to all files on your Moto Z2 Force, also even the files which present in the root directory of your phone.
- You can also increase the performance of your Moto Z2 Force through overclocking.
- With rooting you can increase battery life via underclocking Moto Z2 Force.
- Now, uninstall Bloatware on Moto Z2 Force.
- You can also block Ads on any Android applications such as Youtube and other game-related applications.
- Throug Rooting Moto Z2 Force, you can View, Edit, or Delete any system file inside the root directory as well.
- You can also install the Xposed Framework and a lot of Xposed module support.
Conclusion
Alright, That was all Folks! I hope you guys like this article and also find it helpful to you. Give us your feedback on it. Also if you guys have further queries and issues related to this article. Then let us know in the comments section below. We will get back to you shortly.
Have a Great Day!